Correct connection and installation of LED lights are essential for their optimal performance and durability. In this chapter, we’ll discuss the key steps and points of attention when installing LED lights.
Using connectors
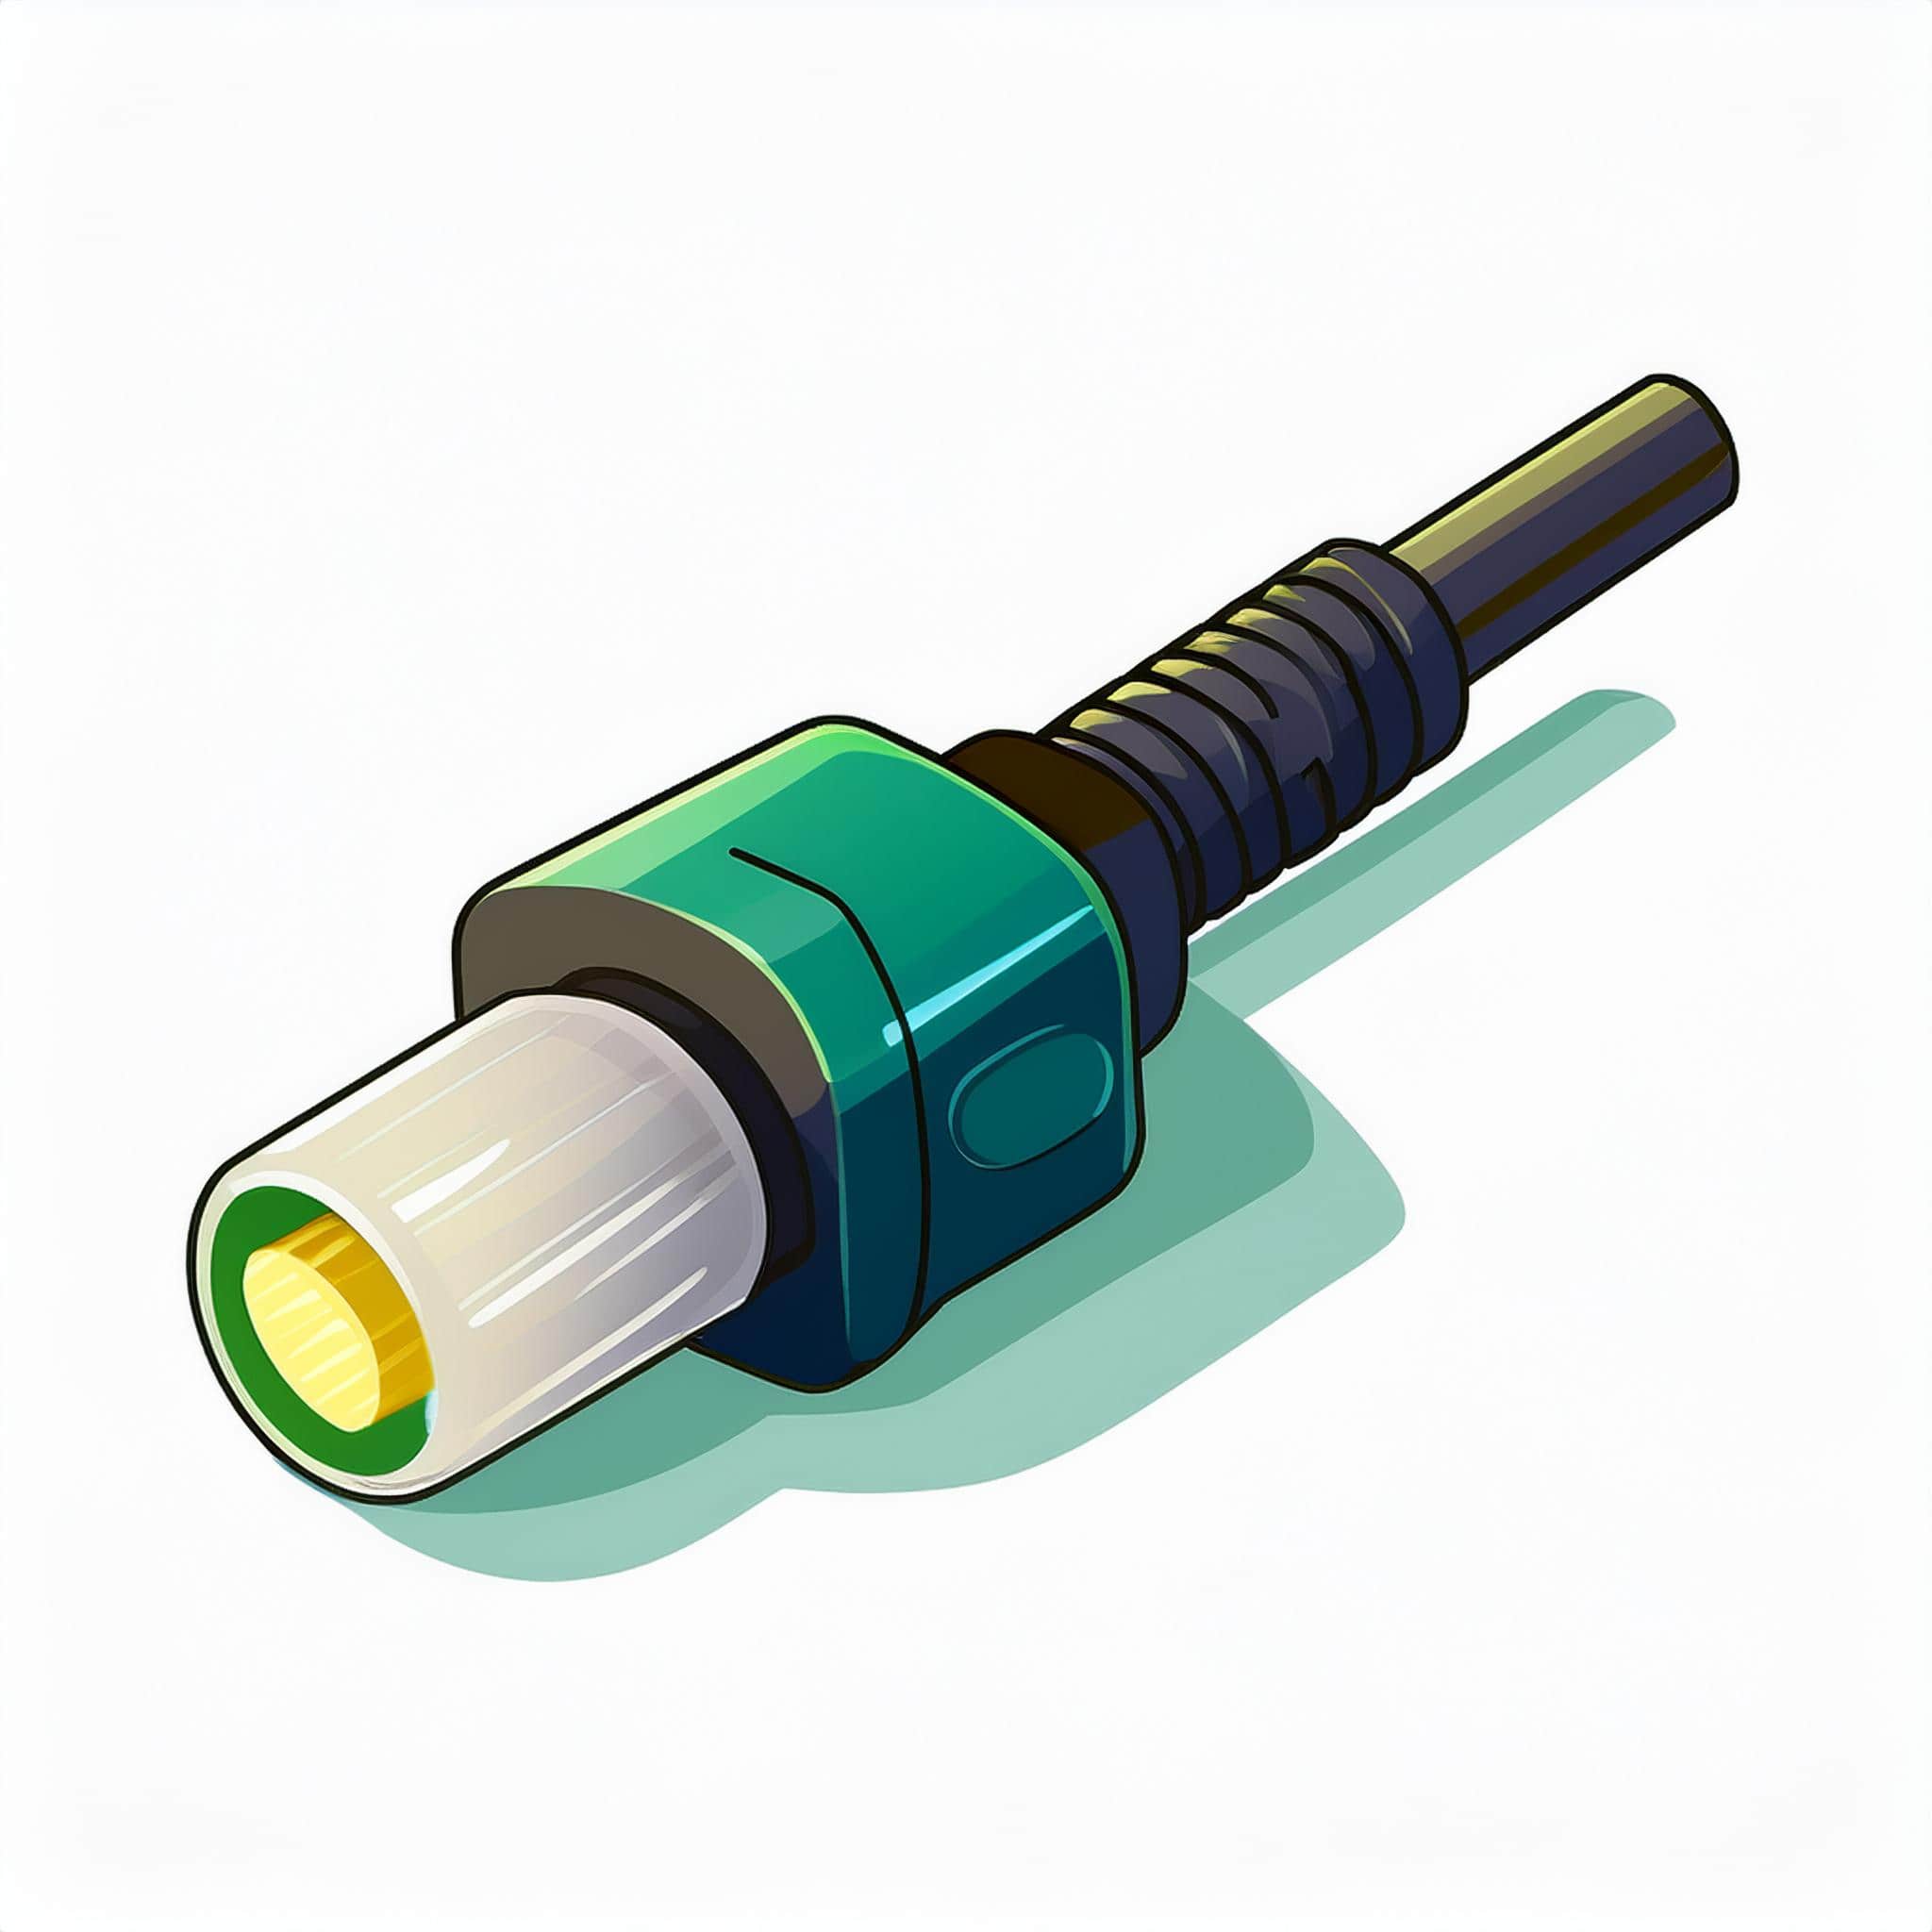
When installing LED lights, it’s very important to use the supplied cable and connector. These connectors are specifically designed to provide a waterproof connection, helping to prevent moisture issues. Moisture can damage the inside of the light, which may result in reduced brightness or even failure of the lamp.
By using the original connectors, you ensure that the connection is secure and reliable. These connectors have been tested by the manufacturer to meet quality and safety standards. If you choose to cut off or remove the connector, it can compromise the waterproofing. This allows moisture to enter, potentially damaging the electronics inside the lamp.
Additionally, it’s important to know that removing or modifying the connectors can void your warranty. We offer a warranty to protect you against product defects, but this only applies if the lamps are installed as recommended. Keeping the original connections ensures that you remain eligible for warranty coverage in case any issues arise.
Direct connection and testing
Tip: We always recommend having lighting installed by a professional. This ensures the correct materials are used, the installation complies with regulations, and you’re guaranteed optimal performance.
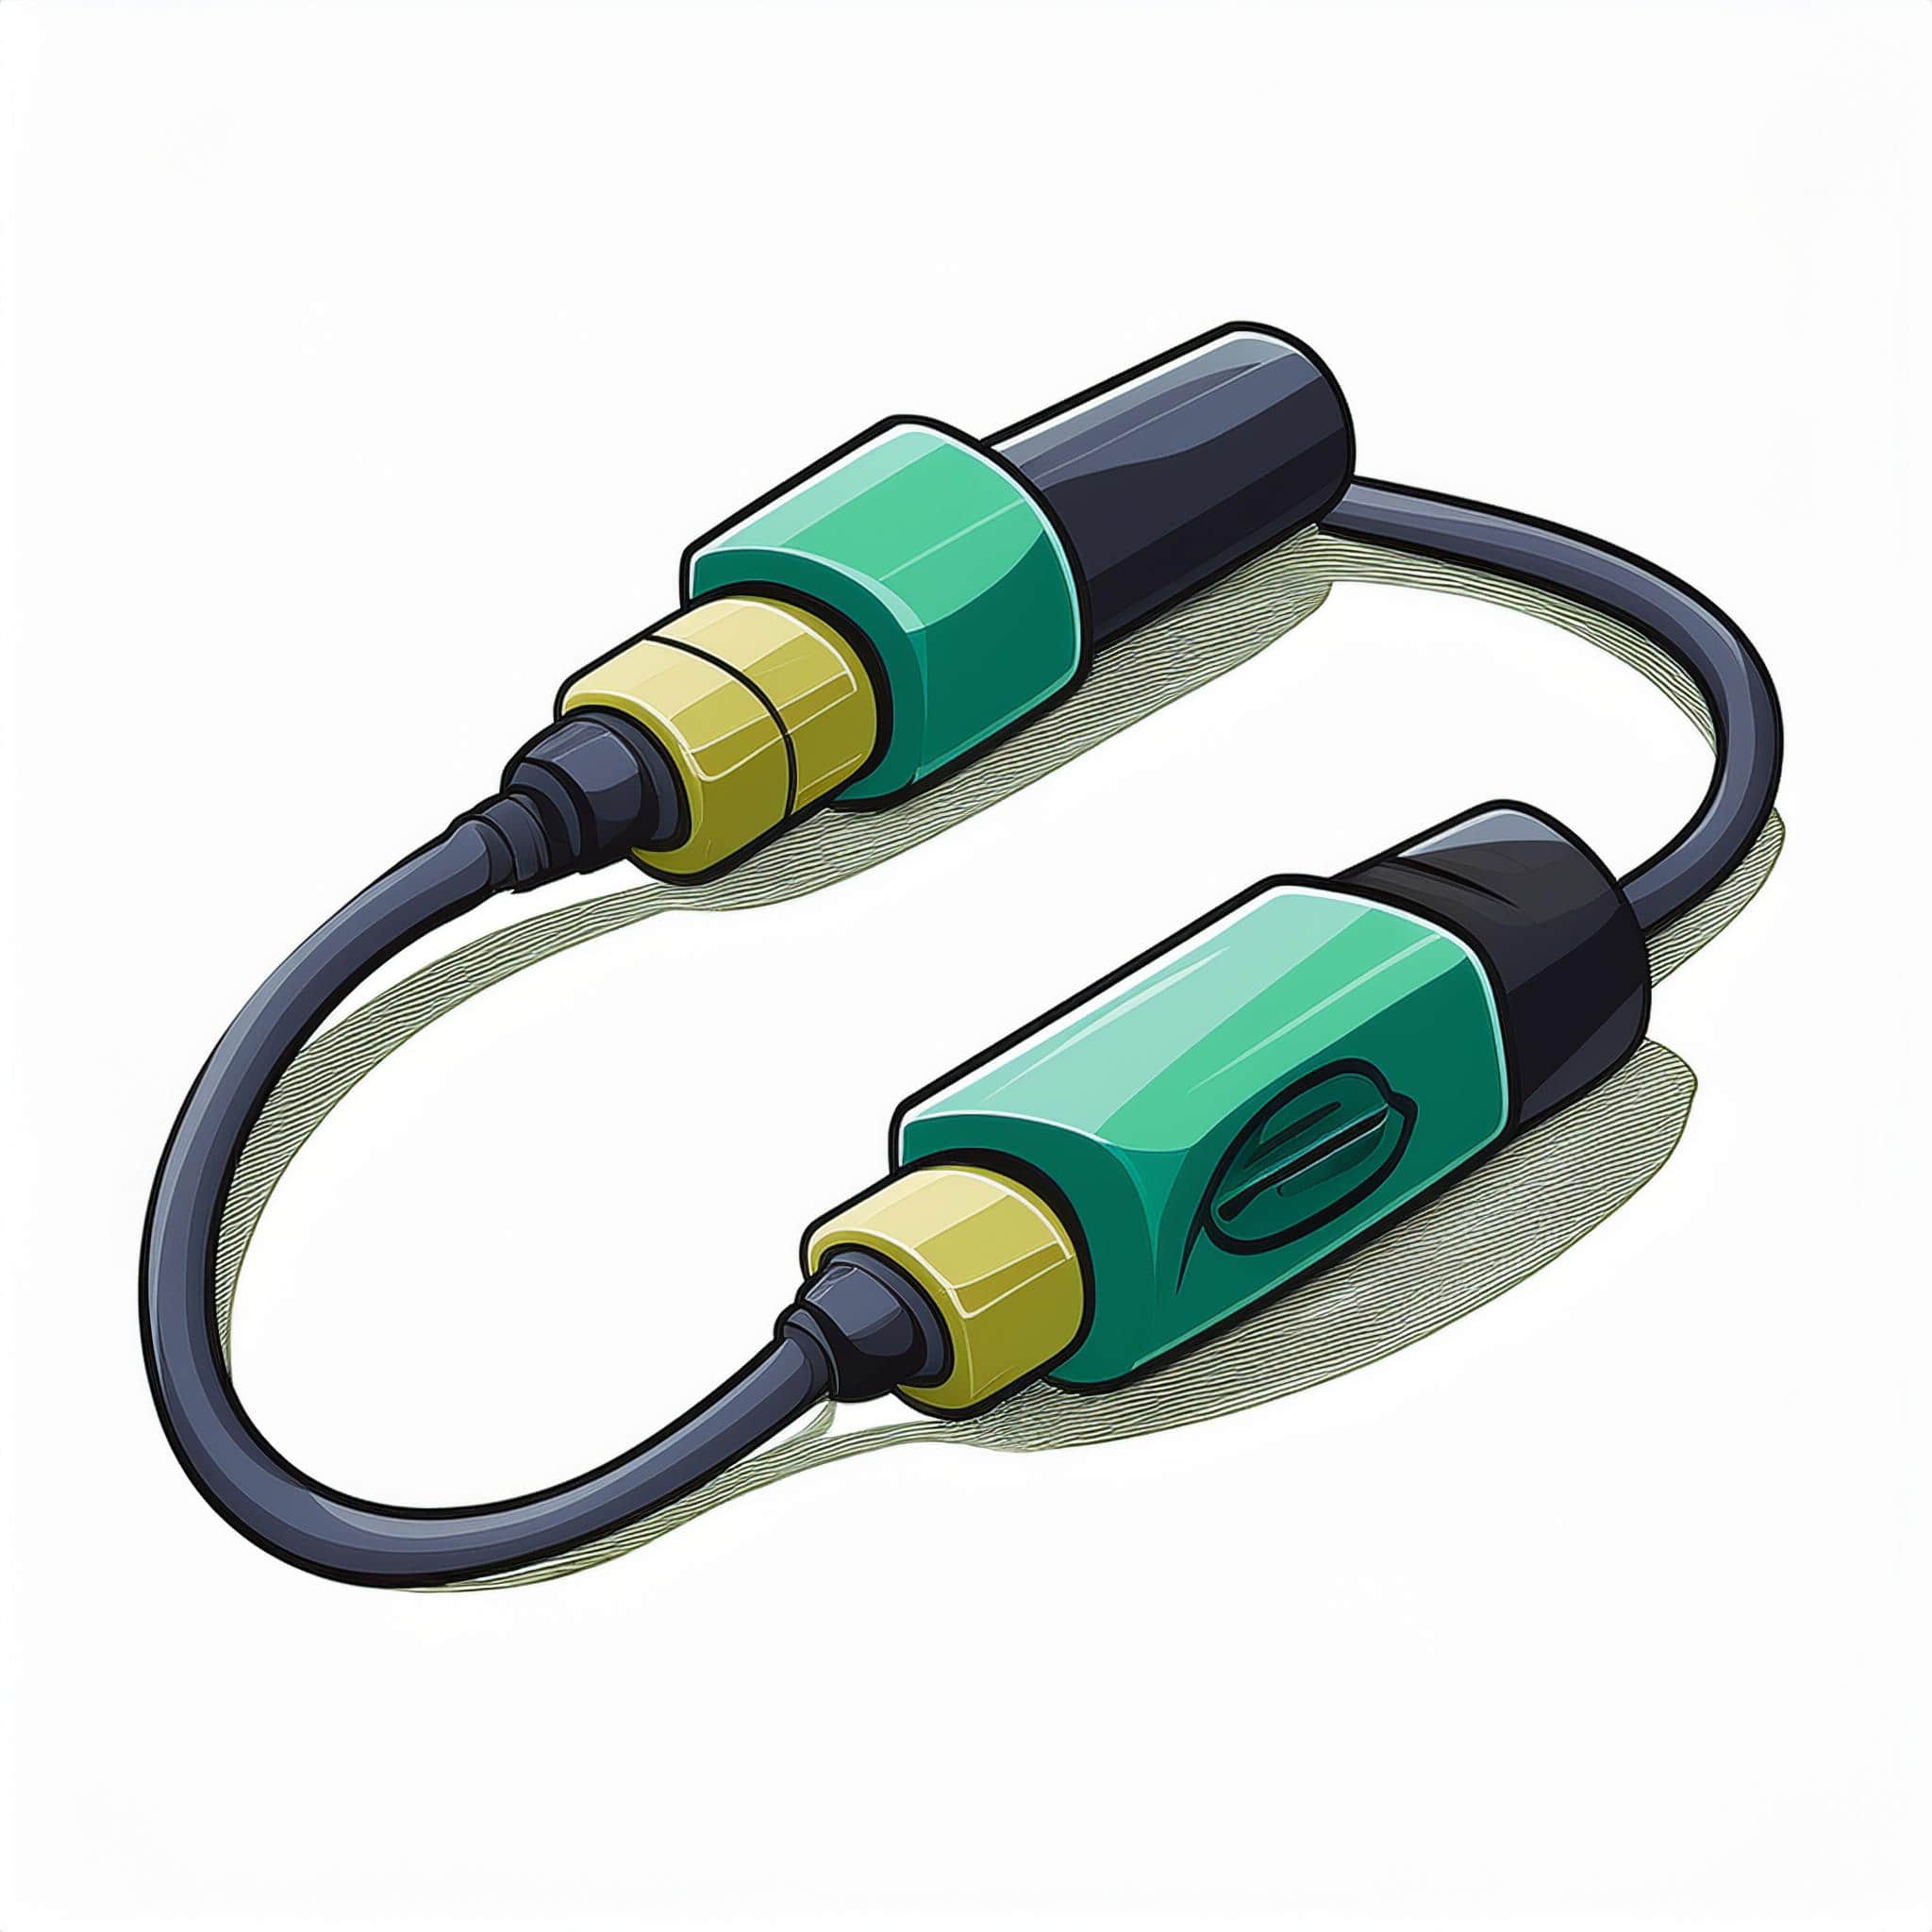
Still planning to do it yourself? Then we recommend testing the product before full installation. That way, you can be sure it works properly. It’s also important to connect all lights directly during installation. This means there should be no loose or poorly connected cables. Loose or incorrect connections can lead to moisture issues and electrical malfunctions. Always follow the manufacturer’s instructions carefully to ensure everything is installed correctly and safely.
After connecting the lights, it’s a good idea to inspect all connections. Make sure all cables are properly secured and there are no signs of wear or damage. A solid connection not only prevents moisture problems but also ensures a stable power supply to the lights.
It can also be helpful to perform a test right after installation. Switch the lights on and check if they function properly. Watch out for any flickering or unusual sounds, as these may indicate a connection issue. If you notice anything unusual, switch off the power and double-check all connections. This helps to catch problems early and ensures your lights continue to work safely and reliably.
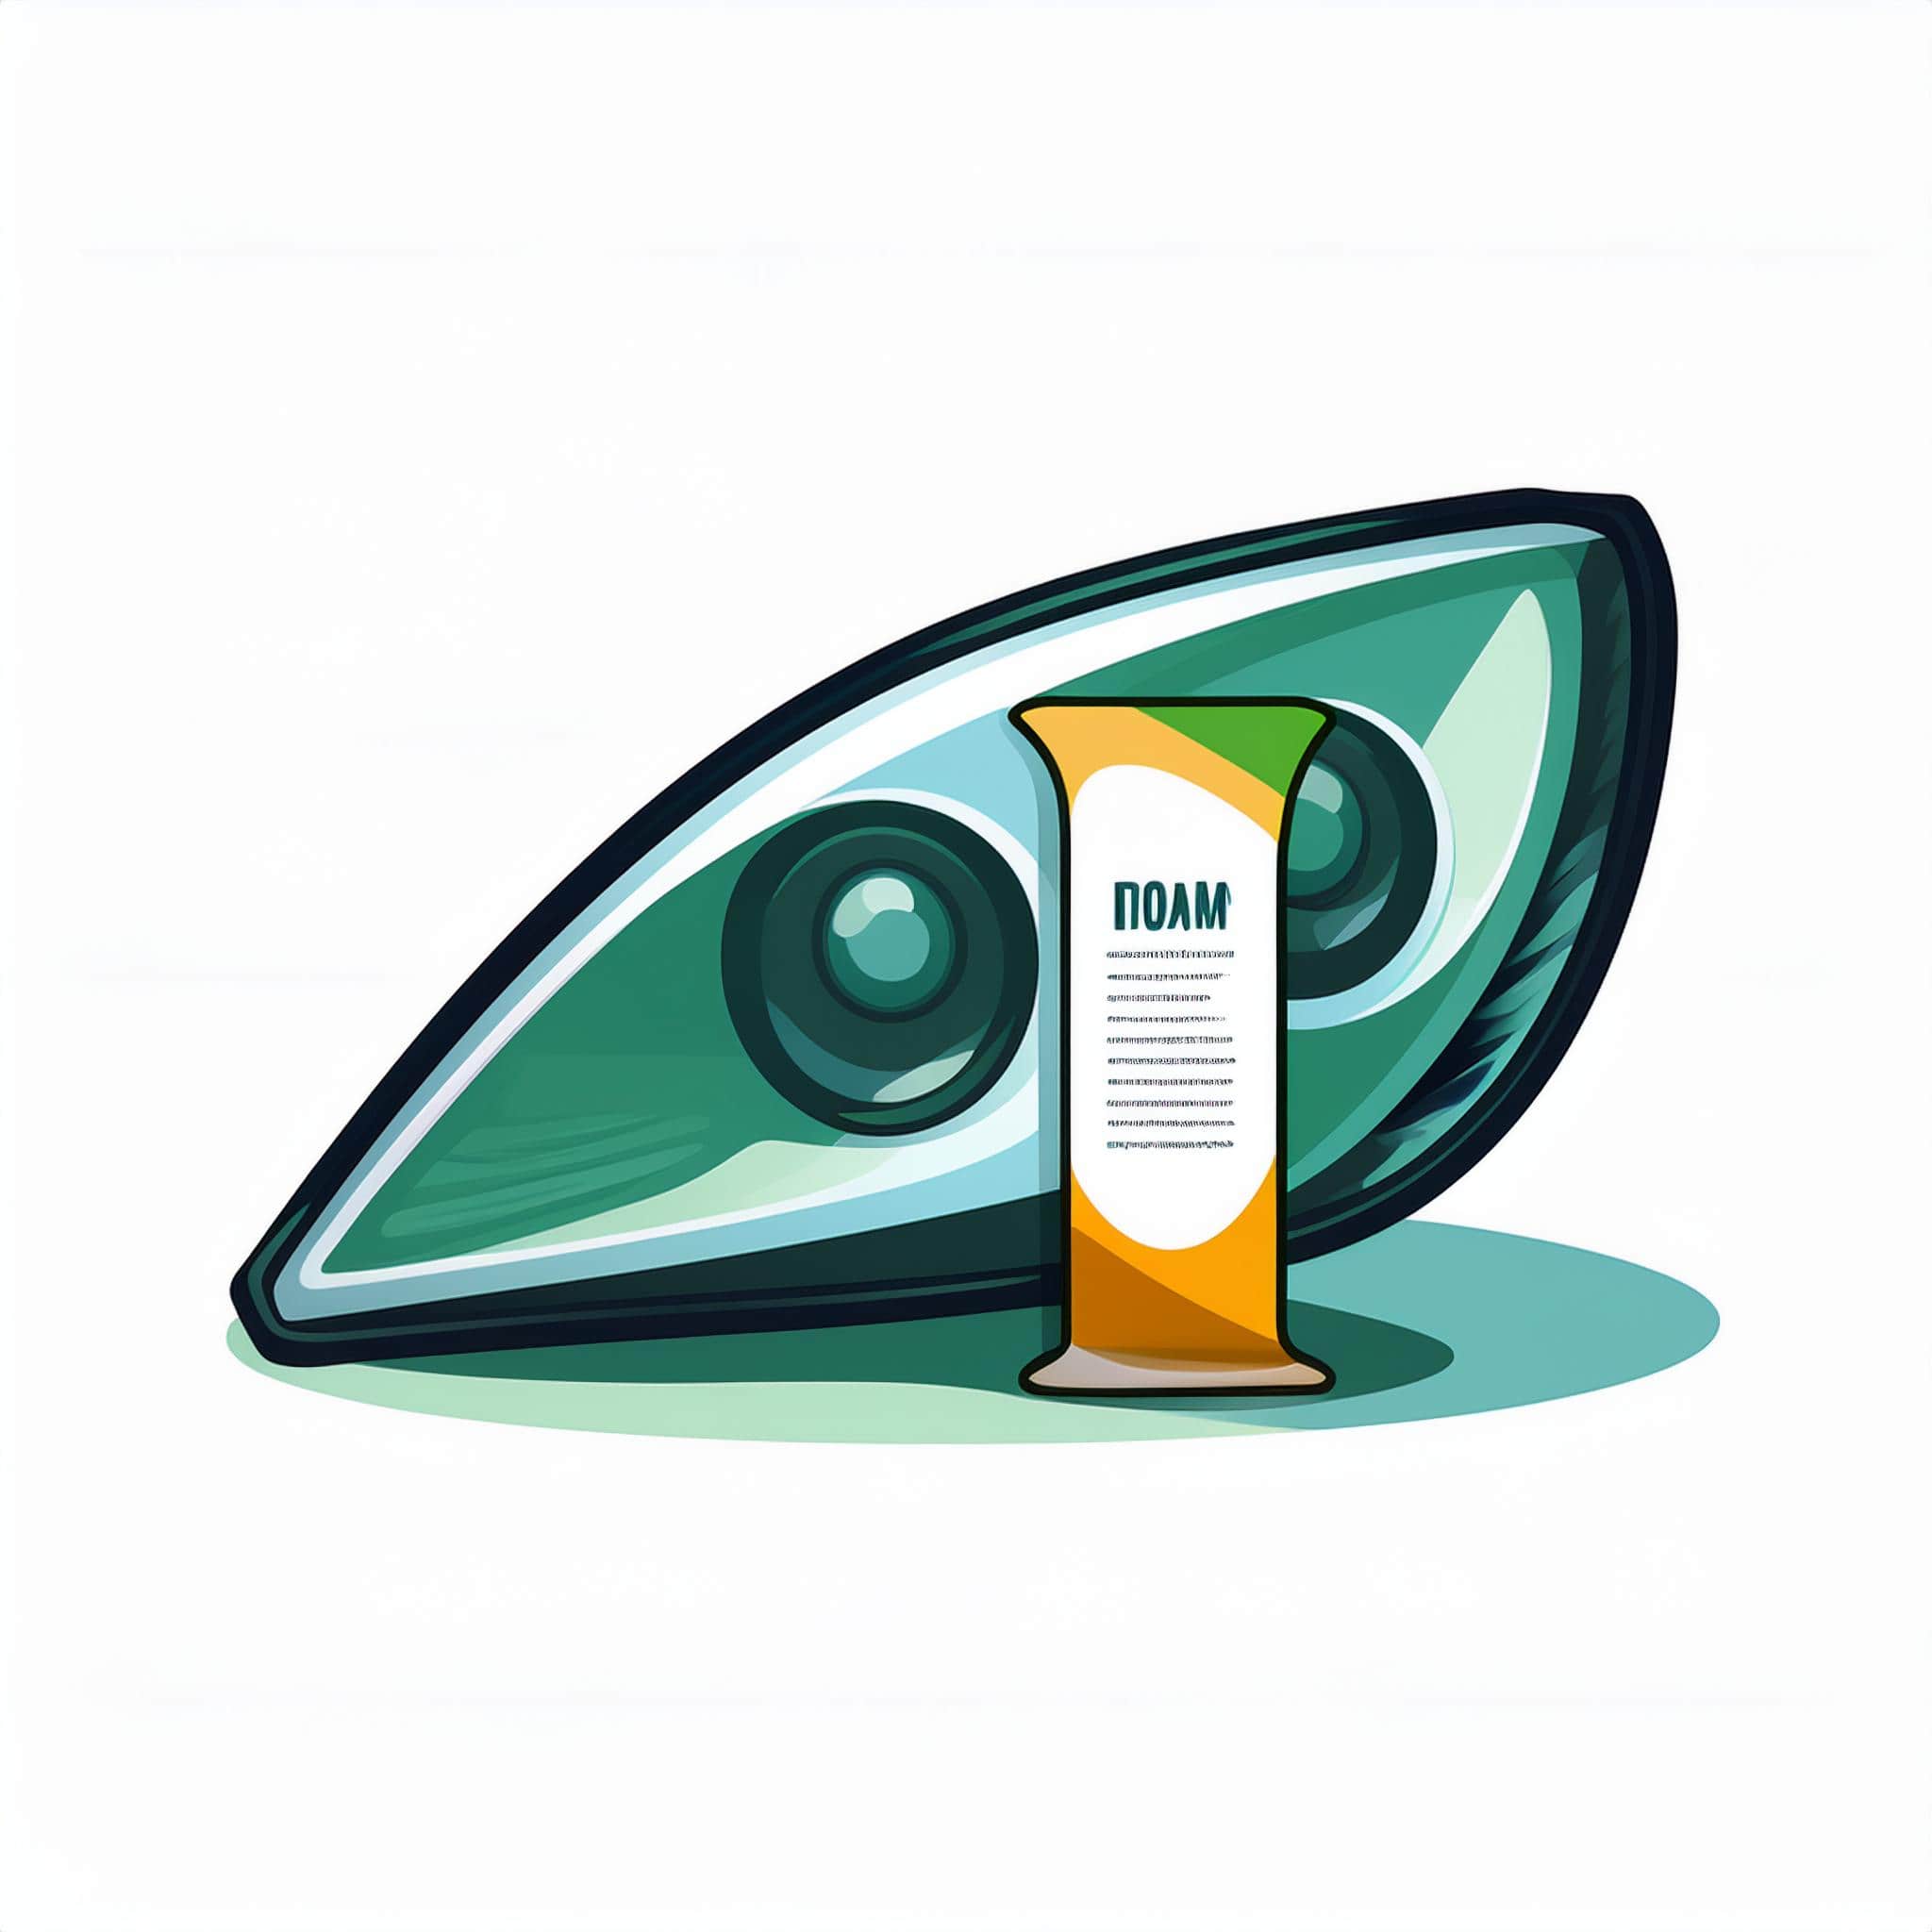
Preserving original labels and safety measures
It’s important not to remove the original labels on the cables. These labels contain crucial product information and are required to maintain your warranty. Removing them may void your warranty if you ever need it.
Safety is also very important when working with electrical components. Make sure you’re working in a dry environment and switch off all power sources before starting the installation. Use the proper tools to avoid damaging the cables or connectors.
By following these guidelines, you can ensure your LED lights are installed safely and effectively. This contributes to their long lifespan and optimal performance. Check out our other chapter on maintenance and use or the chapter on modifications to ensure your lights stay in top condition.